Hi ! a lot of you said you’d like to see this so... here :3
I will never claim to be a professional editor or tutorial maker LOL, i’m completely self taught at this but i thought i’ve gotten quite good :)
i think a lot of the techniques i use are pretty lazy and unprofessional but they work out in the end! hopefully this is easy enough to follow along with....
apps i use: picsart and remini, there might be better apps but idk, these are the ones i use!
(if they’re unavailable on your phone then sorry i don’t really know any others, but any decent photo editor should work well enough)
1. the first stage is finding a porn body base and a head. i’m not going to go into detail with this cus that’s complicated but it’s definitely easier if you have a specific porn star in mind that you want to use. i usually just google *their name* porn and sort so that i’m only shown HD images.
You can use Yandex Reverse search to find different and higher quality versions of an image. high quality base and head is extremely important !!!! it makes things easier and it makes the fake look much nicer
With celebrity heads i mostly just use getty images, and then i use this website to remove the logo if it’s in the way of the face
The easiest porn bases to use are ones where their neck is straight and facing towards the camera :) preferably without tattoos or logos, but small ones can be removed
Here’s the two that i’ll be using, feel free to use them with me if you want to compare at the end :)


(pornstar donnie dean and celebrity oscar isaac)
2. it’s probably best for you to quickly test out your head on your body to see if they look okay together before you begin. just add your face image onto the base, quickly remove the background and see if you can blend the necks together. here’s what my rough draft looked like:

3. Now i need to remove the tattoo on his arm and the logo in the bottom right corner, if you don’t have those then you can skip this step :)
(you also might want to increase the penis size or body- i usually do but didn’t in this fake. you can use the selection tool or just “add image” - make sure it’s neat!)
with the arm i’m lucky that i can use the other arm to paste onto the tattoo and cover it up, hopefully you can do that too, if not then maybe just any similar patch of skin that you can blend well.
start by adding another copy of the base onto the edit, and making sure the corners are lined up so they’re the exact same size and there’s no difference:

i then flipped the image so that the clean arm was on the same side as the tattoo arm, and lined them up so the tattoo would be covered when i erased the rest of the body:

now i erased the whole image and used the restore brush to paint back only the skin that i needed to cover the tattoo like this:

clearly the right arm is slightly too bright and pink, so i went into adjustments after clicking the confirm in the top corner, changed a few of the other settings and slided the hue to the right by 2. the hue is very sensitive so should only be used in tiny numbers. sliding it to right adds yellow and sliding it to the left adds pink- these should be the only colours you really need to change when it comes to matching skin tones.
i then blended out the edges of the skin patch with a very soft, low opacity brush to make it blend into the rest of the arm seamlessly. here’s what it looks like after removing the tattoo:


here’s what mine looks like now:

5. Now we add the head! i did screen record this but it failed (?) and didn’t save, so i just quickly did it again VERY rough to show you what i did, emphasis on quickly because it was very rushed and yours should definitely look better than mine!
use the brush on full hardness and around 90 size for the face and neck, but around maybe 30 size and 50 hardness for the hair so it’s less sharp, you don’t need to be neat with the hair you don’t need to erase around every individual strand, we will tidy the hair up later :)
it is very important that your head is the same size as the original porn guys head, if it’s too small or too large it’ll look silly !
6. Now that your head is in place and blended with the neck, we need to match the colour and lighting ! luckily for me oscar’s head was a good match for the body and i didn’t have to do much, but unfortunately i don’t have a way to show you how to blend yours lol. essentially you should be using saturation and the pink / yellow hues to match the skin tone, and looking at the original head, use that to base off how you’ll be editing the lighting of the celebrities head. try not to make any extreme changes, little bits at a time until you’re satisfied, here’s what mine looks like after altering it slightly to make it a bit nicer

i noticed that his beard was slightly too green so i added a tiny bit of purple to it to cancel it out (they’re opposite colours, so i think that’s how it works LOL, not sure if this is legitimate but it works for me)
i like to turn the brightness all the way down and use the blackness as a way to highlight the area that i’m adjusting instead of the entire picture
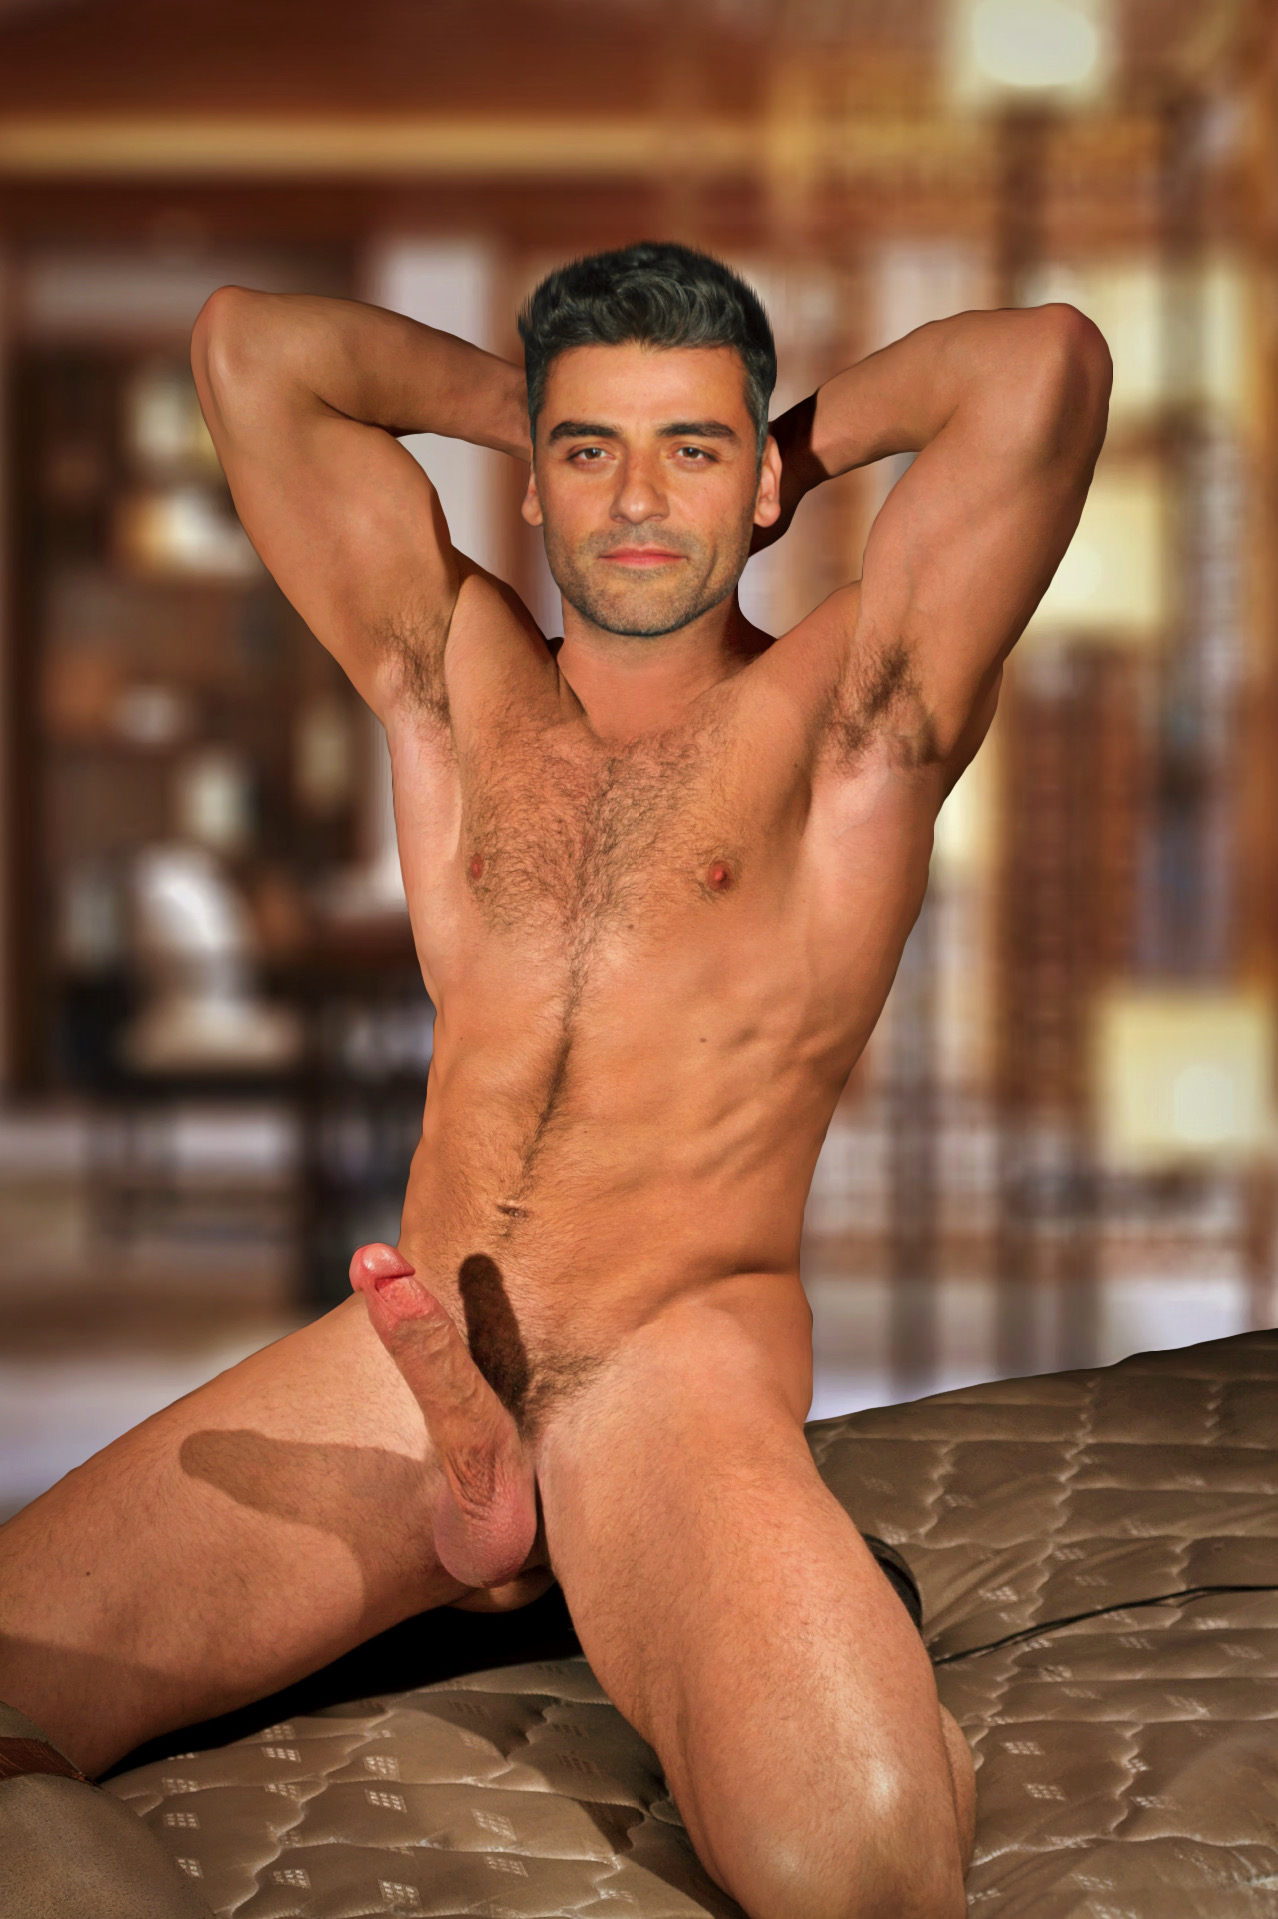
7. once you’re happy with how your edit looks in terms of head and body matching, it’s time for a background. if you didn’t remove yours then you can skip this. but you also might want to darken/ desaturate your background so that the body stands out more! try not to use the blur tool on your background if it’s the original because it’ll make the edges of the body look weird, only blur backgrounds if it’s separate to the body :)
i’m quite lazy and uncreative so i usually just search something along the lines of “warm interior design” and make sure it’s HD. if you’re going for a specific theme or character then you can do something fancy that actually relates to the fake (like a bedroom or a particular setting)
this is the background i decided on: